
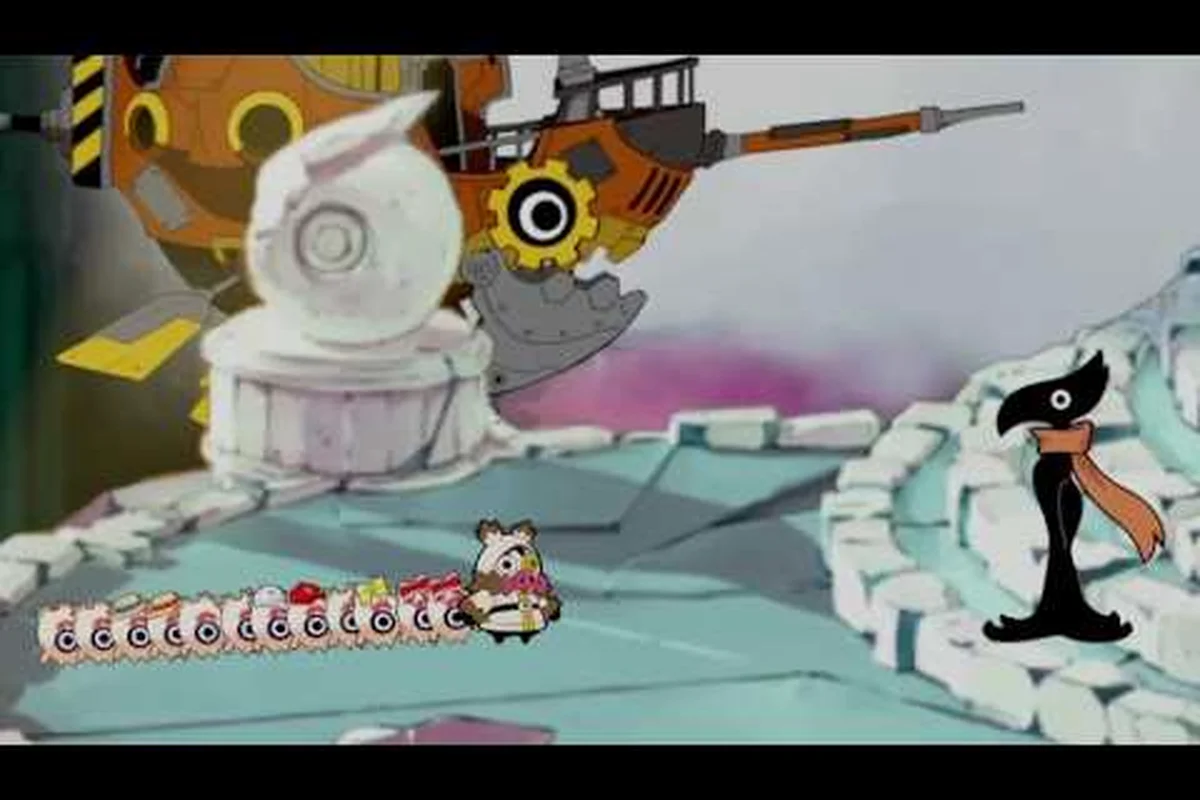
Ratatan melee characters form the front line of every successful rhythm-command squad, and learning their roles early is the fastest way to stop losing Cobun on the second chorus. This guide covers the full roster, the four weapon archetypes that define close-range play, and the Cobun command formations that turn a loose mob into a synchronized wall. By the end, you will know which Ratatan to recruit first, which formations to call when the beat drops, and how to chain progression unlocks into a frontline that never breaks.
The Ratatan Melee Roster and Their Roles
Ratatan ships with four announced playable characters, and the Silhouette of each one tells you almost everything about their job. The Spear Ratatan stands at the head of every serious formation because the Tip Reach value on the spear is the longest in the roster, which lets that character poke threats before the rest of the squad closes distance. The Dagger Ratatan fills the opposite slot, trading reach for Strike Speed and burst damage that shreds armored bosses in two-beat windows. The Bow Ratatan and the Megaphone Ratatan round out the announcement, but they read as ranged and support respectively, so they fall outside the pure frontline — the broader breakdown lives in the ratatan characters list overview.
Frontline Specialist: Spear and Dagger
The Spear character is built for Zone Control, which is a passive that reduces enemy movement speed by roughly 20 percent for the first two beats after a successful thrust. Community data suggests the Spear is the safest first unlock, because its judgment window is the most forgiving of the melee kit. Players who learned the rhythm-command input on this character consistently report fewer mid-chorus deaths, which is why the official Ratatan YouTube channel shows the Spear in most tutorial clips.
The Dagger character is the opposite: tight Judgment Window that punishes mistimed inputs, but the payoff is the highest single-target Burst Multiplier in the roster. The Dagger rewards aggressive Cobun placement, because every backline Cobun that lands a cue behind the Dagger extends the combo timer by one beat, giving the player room to land a second dagger strike. For a deeper look at how each character feeds into the rhythm layer, the ratatan beginner guide covers the underlying input rules.
Mixed Frontline: When to Pair Spear and Dagger
Pairing the Spear and Dagger in a single frontline is the most common formation that clears late-stage choruses, because the Spear draws aggro and the Dagger cashes in. The table below shows how the two characters compare on the four stats that matter most for close-range combat.
| Stat | Spear Ratatan | Dagger Ratatan |
|---|---|---|
| Reach | Long (Tip Reach) | Short |
| Strike Speed | Medium | Fast |
| Judgment Window | Forgiving | Tight |
| Burst Multiplier | x1.4 | x2.1 |
| Best Cobun Pairing | Chorus | Ototo |
The numbers above come from the Ratatan Development Log #4, which traces how the Silhouettes were tuned so each one could be read clearly even on a busy battlefield. That visual clarity is the reason the four characters feel distinct at a glance, and it feeds directly into how the rhythm-command layer works on top of them.
How Ratatan Melee Characters Compare to Ranged and Support
Melee is not the only viable style in Ratatan, and ignoring the ranged and support archetypes is the fastest way to hit a progression wall. The four announced Ratatan — Spear, Dagger, Bow, and Megaphone — split into three roles that the community has settled on after several early-access patches. Ratatan ranged characters and ratatan support characters each solve problems that the frontline cannot, and the strongest late-game formations mix all three roles rather than stacking one.
The Four-Character Role Split
| Character | Role | Range Band | Primary Job |
|---|---|---|---|
| Spear Ratatan | Melee | Contact | Zone Control and aggro draw |
| Dagger Ratatan | Melee | Contact | Burst Damage on priority targets |
| Bow Ratatan | Ranged | Mid | Kiting and chorusing summons |
| Megaphone Ratatan | Support | Global | Cue Amplify and Cobun sync |
The Bow Ratatan sits in the mid-range band, which means it can kiting from the second rank while the Spear and Dagger hold the front. The Megaphone Ratatan reads as a support because its skill is Cue Amplify, a passive that widens the rhythm input window for any Cobun within visual range. Pairing the Megaphone with a Dagger frontline is one of the cleanest ways to learn how to command Cobun in Ratatan, because the Megaphone's wider window forgives the Dagger's otherwise punishing timing.
Why Pure Melee Squads Stall
Pure melee squads stall for two reasons. First, the front rank has no answer to enemy Chorusers, which are mid-range summons that punish the player for standing in one spot. Second, the frontline cannot trigger ranged Bait Tokens, which are collectible pickups that only activate when a character with a ranged weapon enters the trigger radius. A squad built only from ratatan playable characters in the melee slot clears early choruses fast, then loses tempo the moment a boss spawns adds.
The fix is to keep two melee slots and rotate the third between Bow and Megaphone depending on the chorus. Bow works when the map has long sightlines and many Bait Tokens. Megaphone works when the map is tight and the player needs every Cobun cue to land on the first beat. The transition between these two is where most new commanders lose the thread, so the next section breaks down Cobun command input step by step.
Ratatan Cobun Command Input and Core Formations
Ratatan how to command Cobun is the question every new player asks within the first hour, and the answer is shorter than the community makes it sound. Cobun follow Rhythm Cues, which are short input prompts that fire on the downbeat of the background track. The player presses the corresponding face button on the cue, and any Cobun assigned to that cue performs its action on the next beat. The trick is that each Cobun only listens to one cue at a time, which is why formations matter more than raw Cobun count.
The Four Cobun Types and Their Default Cues
The four announced Cobun — Chorus, Ototo, Medama, and Fortrun — each default to a different cue, and the full recruitment walkthrough is in the how to get more Cobun guide. The quick reference below maps each Cobun to its job on the battlefield.
| Cobun | Default Cue | Primary Job | Best Melee Pairing |
|---|---|---|---|
| Chorus | Triangle | Aggro Pulse that pulls enemies | Spear Ratatan |
| Ototo | Square | Burst Follow-up on the same target | Dagger Ratatan |
| Medama | Circle | Heal Beat that ticks every 4 bars | Megaphone Ratatan |
| Fortrun | Cross | Dash to the next frontline tile | Spear Ratatan |
Notice that two Cobun pair best with the Spear and one pairs best with the Dagger. That is not a coincidence. The Spear holds a static position, which lets a Chorus Cobun pulse safely behind it and a Fortrun Cobun dash to the next tile without exposing the player. The Dagger has to commit to a strike, so an Ototo Cobun riding the same beat is what converts the Dagger's Strike Speed into a real combo.
Ratatan Cobun Formations: Three Templates That Work
Formations in Ratatan are not positional slots the way they are in tactics games. They are Cue Chains, which are ordered sequences of Cobun cues the player triggers in a single bar of music. The three formations below cover roughly 80 percent of the choruses the community has logged.
| Formation | Cue Chain | Best Use Case |
|---|---|---|
| Wall | Triangle → Triangle → Square | Hold a chokepoint, draw aggro, finish stragglers |
| Strike | Square → Square → Triangle | Burst a single priority target, ideal vs bosses |
| Heal Wave | Circle → Circle → Triangle | Recover after a failed cue, then re-establish aggro |
The Wall formation is the safest opener and the one the Ratatan Development Log #3 prototype validated first, because proving that rhythm input and free movement could coexist was the project's main technical risk. The Strike formation is what the Dagger excels at, since two Ototo cues in a row extend the combo timer enough to land a third dagger strike. The Heal Wave is the recovery option and the reason a Megaphone support character is worth bringing to any chorus above Difficulty 3.
How Cobun Cues Sync With the Rhythm Layer
Each cue has a Judgment Window, which is the number of milliseconds the player can be early or late and still register the input. The Megaphone Ratatan widens this window by roughly 30 percent for every Cobun in visual range, which is the support class's main value. The wider window does not increase damage, but it does increase the number of cues that land per chorus, which indirectly boosts damage because every successful cue extends the combo timer. Players who master the timing on a single Cobun before adding a second one report faster progression, because the failure mode of stacking cues too early is missing every cue at once.
Ratatan Character Progression and Unlock Order
Ratatan character progression runs through three layers: Weapon Rank, Cue Mastery, and Chord Memory. Each layer feeds the next, and the order in which a player invests in them is the single biggest lever on how fast the roster fills out. The community has settled on a four-step path that most successful runs follow, and the table below shows what each step unlocks.
The Four-Step Progression Path
| Step | Layer | What It Unlocks | Typical Time to Clear |
|---|---|---|---|
| 1 | Weapon Rank | Weapon skills at Rank 1, including Tip Reach and Strike Speed | 2-3 choruses |
| 2 | Cue Mastery | Second cue slot per Cobun, which doubles formation depth | 5-7 choruses |
| 3 | Chord Memory | Cross-cobun chains that fire on the same beat | 10-12 choruses |
| 4 | Weapon Rank 2 | Rank 2 passive, including Zone Control at full strength | 15+ choruses |
Weapon Rank is the first wall new players hit, because the Rank 1 unlock requires the character to land a set number of clean hits in a single chorus. Cue Mastery is where most players start to feel the rhythm layer click, because the second cue slot turns every Cobun from a single action into a small combo. Chord Memory is the late-game layer that the ratatan tier list ranking uses to weigh formations against each other.
Which Character to Progress First
The community consensus, supported by the early-access data, is to progress the Spear Ratatan first, then the Dagger, then the Megaphone, then the Bow. The order exists for two reasons. The Spear's forgiving Judgment Window makes it the easiest character to land clean hits on, which means Rank 1 clears faster. The Megaphone comes third because its value only spikes after the player has two frontline Cobun that actually need a widened window, which is a Cue Mastery unlock.
The Bow is intentionally last because ratatan ranged characters scale with Kiting Score, which only matters on maps with long sightlines. New players see fewer sightlines, so the Bow feels weak in the first 10 choruses and strong in the next 20. Bringing it forward is the most common mistake the community logs, and it is the reason the Bow is rated lower than the Megaphone in most early-progression tier lists.
Reading the Battle: When to Switch Formations
Knowing the roster and the formations is only half the job. The other half is reading the chorus in real time and switching cues before the beat forces you to. Ratatan cobun formations are flexible on purpose, but the cue chain the player commits to in the first bar usually dictates what the rest of the chorus can do. Three patterns show up often enough to deserve their own rule of thumb.
Pattern 1: Boss Spawns Adds Mid-Chorus
When a boss spawns adds, the player should immediately drop any Strike formation and chain two Triangle (Chorus) cues back to back. The Chorus Cobun's Aggro Pulse is the only tool that reliably peels adds off the Dagger before they cancel the combo. Switching to Wall on the same beat the adds appear is the cleanest fix, and most late-game clears depend on this transition happening inside one bar of music.
Pattern 2: Cobun Count Drops Below Four
When the squad drops below four active Cobun, the player should switch from any two-cue chain to a single-cue chain. A Chain that expects two cues per bar will miss one cue for every missing Cobun, which costs more tempo than running a slower single-cue chain. The Heal Wave formation is the default in this state, because the Circle cue on the Medama Cobun is the only cue that does not require a second Cobun to be worth the beat.
Pattern 3: Bait Token Appears Behind the Frontline
When a Bait Token appears behind the frontline, the player should send a Fortrun Cobun after it via a Cross cue, then snap back to a Triangle cue on the next beat. The Fortrun's Dash is the only Cobun action that can reach a token without exposing the player, and chaining it back to a Triangle cue keeps the aggro pulse running while the token is collected. This pattern is the one that converts a kiting score into actual progression, because tokens are the main source of Weapon Rank experience for ranged and support characters.
Frequently Asked Questions
Who are the best Ratatan melee characters for a new player?
The Spear Ratatan is the best starting melee pick because of its forgiving Judgment Window and long Tip Reach, both of which make it easier to land clean cue inputs. The Dagger Ratatan is the natural second pick once the player is comfortable with the rhythm layer, since its burst damage scales with combo length.
How do I command Cobun in Ratatan without missing cues?
Start with one Cobun and one cue, then add a second Cobun only after the first cue lands on at least nine out of ten beats. The Megaphone Ratatan widens the input window once it joins, which is the cleanest way to add complexity without losing tempo.
What is the difference between Ratatan ranged characters and melee characters?
Ranged characters like the Bow Ratatan deal lower per-hit damage but can kiting from the second rank and trigger Bait Tokens the frontline cannot reach. Melee characters hold the front rank, control zones, and convert the Dagger's burst into boss damage. The strongest late-game squads run two melee plus one ranged or support.
Which Ratatan Cobun formation clears the most choruses?
The Wall formation (Triangle → Triangle → Square) clears the widest variety of choruses because it combines aggro draw with burst follow-up. The Strike formation is faster on single targets but fails on adds, and the Heal Wave is the recovery option after a failed cue chain.
How long does character progression take in Ratatan?
Clearing the first Weapon Rank for a single character takes roughly two to three choruses for a new player, and unlocking Chord Memory typically takes ten to twelve choruses. The full progression path to Rank 2 passives on all four characters usually lands inside the first 25 choruses of a fresh save.