
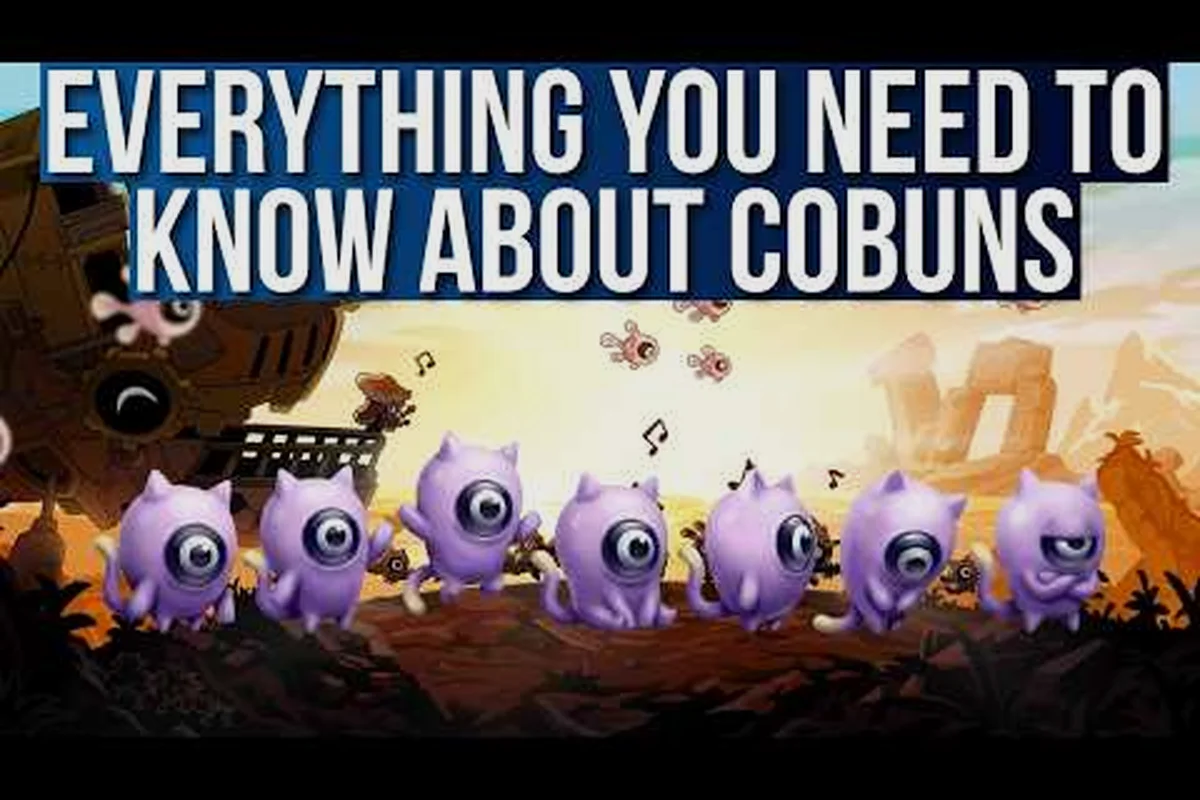
Building a strong swarm in Ratatan comes down to one question: how to get more Cobun quickly enough to keep up with the escalating rhythm of the late-game stages. Cobun are the quirky little companions that follow your main character, dish out extra attacks, tank hits, and trigger formation bonuses when grouped correctly. The problem is that recruit rates feel stingy at first, and the gap between a four-Cobun squad and a sixteen-Cobun parade is enormous. This guide breaks down the reliable sources, the Rataport NPCs worth chasing, the most efficient farming loops, and the character-specific unlocks — including Chorus, Ototo, Medama, and Fortrun units — that expand your roster faster than brute-force grinding ever will. own the reliable sources, the Rataport NPCs worth chasing, the most efficient farming loops, and the character-specific unlocks — including Chorus, Ototo, Medama, and Fortrun units — that expand your roster faster than brute-force grinding ever will, and if you want a deeper breakdown of each warrior's stat profile and weapon kit, our Ratatan Melee Characters guide pairs perfectly with the unlock priorities outlined above.
Understanding the Cobun System and Why Numbers Matter
Cobun are more than background mascots in Ratatan. Each one contributes to your Rhythm Chain counter, which determines the length of your music-driven combo meter during combat. A solo character might top out at a Level 3 chain, but eight Cobun in formation can push that to Level 6 or higher, unlocking passive bonuses such as the Crescendo Heal tick and the Coda Burst finisher. The base cap starts at 8 followers, expands to 12 once you clear Act 2, and finally lifts to 16 Cobun after the Act 4 finale.
Recruitment is not random once you understand the three underlying systems: stage drops, Rataport gacha pulls, and NPC bond rewards. Stage drops give you common-tier Cobun roughly 1 in 4 encounters, while the Rataport gacha offers a fixed pool with weekly rotation. NPC bonds are the most generous source, but they require dialogue repetition and gift-giving to unlock.
| Source | Average Cobun Per Hour | Rarity Ceiling | Cost Type |
|---|---|---|---|
| Stage clears (any biome) | 8-12 | Common / Uncommon | Free (stamina) |
| Rataport gacha pull | 1 (10-pull batch) | Rare / Mythic | Heartbeat Coins |
| NPC bond milestones | 1-2 (per milestone) | Character-locked | Tokens / Gifts |
| Event missions | 3-5 (limited window) | Event-themed | Mission clear |
| Hidden cave rescues | 1 (one-time) | Mythic-tier possible | Exploration |
The takeaway is straightforward: if you want to grow your Cobun army fast, blend all five sources instead of leaning on just one. A player who only does stage clears might add 100 Cobun over ten hours, while a hybrid farmer can hit the same number in roughly five hours by alternating between Rataport pulls and NPC farming during downtime.
Reliable Farming Loops for Steady Cobun Income
Before chasing rare characters, you need a stockpile of common Cobun because every four common units can be merged at the Harmony Bench in Rataport to produce one Uncommon-tier recruit. That conversion is the real backbone of the early game, and skipping it leaves your formation permanently understaffed.
The most efficient loop runs through three stages in a row: Tidebit Beach, Pillar Pass, and Underbelly Tunnels. These three are short, share a single biome load-in, and each has two guaranteed Cobun rooms per run. According to community data shared on the Ratatan Discord, a full loop including travel and menu resets takes about nine minutes and yields 6-9 Cobun plus 1,200-1,800 Beat Shards. The loop is so productive that it has become the unofficial training ground for new players, and it remains useful well into Act 3 because the common-tier Cobun from these stages still feed into Harmony Bench conversions.
| Stage | Run Length | Cobun per Run | Bonus Drops | Recommended Level |
|---|---|---|---|---|
| Tidebit Beach | 3 min | 2-3 | Coral Fragments | Any |
| Pillar Pass | 3 min | 2-3 | Stone Chips | 5+ |
| Underbelly Tunnels | 3 min | 2-3 | Glowcap Mushrooms | 8+ |
| Totality of loop | 9 min | 6-9 | 1,200-1,800 Beat Shards | 5+ ideal |
Players chasing Cobun for late-game content should also bookmark the Twilight Stacks arena, which unlocks after Act 3. It is a longer stage — roughly seven minutes per run — but it adds a guaranteed Uncommon drop on completion and a 12 percent chance at a Rare-tier recruit. According to player reports, stacking the Tidebit-Pillar-Underbelly loop with three weekly Twilight Stacks runs per week produces about 80-100 Cobun and 2-3 Rare units without spending a single premium currency.
Recruiting Chorus Ratatan Characters Through the Rhythm Tower
The Chorus Ratatan recruitment line is tied directly to the Rhythm Tower, a vertical dungeon that appears after the Act 2 story beat in the Sunken Quarter. The tower has twenty floors, and each cleared floor grants one of three rewards: a Cobun pack, a Chorus-tinted cosmetic, or a Chorus character shard. Ten shards summon the character itself, so the average clear-to-character ratio is roughly one new unit per two tower runs.
What makes Chorus units special is the Harmony Pulse passive, which raises the rhythm-chain cap by one tick for every three Chorus-class Cobun in your formation. Stacking four Chorus units effectively adds a free chain level, which is why serious players prioritize the tower above almost every other grind source.
| Chorus Character | Unlock Source | Shards Needed | Notable Passive |
|---|---|---|---|
| Melody Mite | Rhythm Tower floor 5 | 10 | Beat Heal +2 per chain |
| Chord Chewer | Rhythm Tower floor 10 | 10 | Combo window +0.5s |
| Verse Vagrant | Rhythm Tower floor 15 | 10 | Rhythm damage +8% |
| Bridge Brute | Rhythm Tower floor 20 | 10 | Tank slot for Cobun |
| Crescendo Captain | Tower S-rank clear | 30 | All passives stacked |
Clearing the tower once unlocks Replay Mode, which lets you re-clear any floor for a stamina cost. This is the long-term Chorus grind, and players who commit to a daily two-floor replay routine typically unlock their first Chorus character in under two weeks, according to community data posted in the early-access testing thread.
Ototo Ratatan and Medama Ratatan: Companion-Specific Unlocks
The Ototo Ratatan line consists of tiny drum-beating companions that buff the player's attack speed whenever a chain level ticks up. They are unlocked through the Ototo Drum Circles, hidden events that trigger in the Overgrowth biomes during the day-night cycle window of 18:00 to 21:00 in-game. Each successful drum-circle minigame awards one Ototo shard, and the minigame itself is short — about 90 seconds — but only triggers roughly once every two real-time hours on a given map.
| Ototo Variant | Drum Circle Location | Unlock Time | Combat Bonus |
|---|---|---|---|
| Ototo Beat | Overgrowth Trailhead | 18:00-19:00 | Attack speed +6% |
| Ototo Roll | Mushroom Glade | 19:00-20:00 | Rolling damage +12% |
| Ototo Echo | Whispering Caves | 20:00-21:00 | Chain extension +0.3s |
| Ototo Storm | Storm Crag (post-Act 3) | All night | Element chain +1 tier |
The Medama Ratatan line, on the other hand, leans into support and healing. Medama are the eyeball-floating healers whose Iris Ward ability prevents fatal damage once per encounter, saving your run from a single mistake. They are obtained through the Crystalline Caves side quest chain, which requires you to first rescue ten lost Medama in the Overworld before the master Medama will offer the recruitment quest. The rescue step is grindy but deterministic: every Overworld zone has exactly one Medama, and each one is marked on the map once you complete the Cartographer's Mark side quest.
| Medama Variant | Unlock Quest | Combat Role | Special Trait |
|---|---|---|---|
| Medama Calm | First rescue | Passive healer | Regen 1 HP/3s |
| Medama Surge | Second rescue | Active healer | Burst heal 30% HP |
| Medama Lens | Third rescue | Debuff clearer | Remove one status/encounter |
| Medama Crown | All 10 rescued | Master healer | Full party heal + shield |
Both lines synergize well with a formation that already includes four Chorus units, so veterans usually unlock Chorus first, then layer Ototo for damage, then close with Medama for survivability. The combined squad can clear Act 4 content that would otherwise require a near-perfect run with a weaker roster.
Rataport NPCs and the Fortrun Ratatan Unlock Path
The Rataport is the central hub of Ratatan, and the NPCs who live there are more than decoration. Five of them offer Cobun-related services, and three of those five are the key to unlocking the rare Fortrun Ratatan characters. Fortrun units are the tank-class Cobun, recognizable by their bulky armor and shield-bash animations. They are arguably the hardest to recruit because they require both gacha luck and a bonded NPC who hands out a free Fortrun token every Sunday reset.
| Rataport NPC | Service | Weekly Limit | Cobun Reward |
|---|---|---|---|
| Doolan the Drummer | Rhythm Tower unlock + free roll | 3 rolls | 1 Cobun + 1 random shard |
| Mira the Merchant | Heartbeat Coin shop | 10 purchases | Mythic-tier Cobun on rotation |
| Pops the Cartographer | Map reveals + Medama hints | 1 map | 2 Cobun markers revealed |
| Old Tunker | Fortrun token trade | 1 token | 1 Fortrun shard |
| Saela the Bard | Daily song buff | 7 days | +15% Cobun drop rate |
To unlock the full Fortrun line, you need to max out the Old Tunker bond, which sits at level 5, then complete the Shattered Bulwark side dungeon to earn the first Fortrun token. Once you have that, a weekly login to claim the token gives you a free Fortrun shard. Ten shards summon a Fortrun, and there are four base variants plus a hidden fifth that only appears during the Ratatouille Festival event, which runs twice per real-world year.
| Fortrun Character | Unlock | Tank Passive | Formation Bonus |
|---|---|---|---|
| Fortrun Brass | Tunker bond 1 | Block +8% | Front-row +5% defense |
| Fortrun Iron | Tunker bond 3 | Counter attack | Front-row reflect 3% damage |
| Fortrun Steel | Tunker bond 5 | Shield bash | Formation +1 chain level |
| Fortrun Mythic | Festival event | All passives | Front-row +12% defense |
| Fortrun Eternal | Clear Bulwark in 4 min | Aura: Unbreakable | Front-row immune to knockback |
Players who want to know how to get more Cobun of the rare variety should treat Rataport NPCs as a daily checklist, not a one-time visit. The free roll from Doolan, the daily buff from Saela, and the weekly Tunker token together add roughly 3-5 rare-tier Cobun per week without spending premium currency, which is the single best return on a five-minute daily routine in the entire game.
Advanced Tactics and Common Pitfalls When Expanding Your Roster
Even with the best farming loops and Rataport routines, a few common mistakes can stall your Cobun growth. The most frequent error is spending Heartbeat Coins on the Banner Rotation gacha before clearing Act 2. Until the second act finale, the gacha pool is locked to a smaller subset, and most premium pulls return duplicates. Waiting until Act 3 unlocks the Concert Banner, which adds a featured-rate-up unit and roughly doubles your chance of a Mythic-tier Cobun.
Another pitfall is ignoring the Bond Inventory that opens after the Act 1 finale. Every NPC you speak to in the Rataport generates a bond item, and most players forget that these items stack silently in the background. According to community data, you can hold up to 999 bond items at once, and the inventory auto-converts overflow into Bond Coins at a 10:1 ratio, which can then be traded for Cobun shards at the Mira the Merchant shop. Missing out on this conversion leaves roughly 5,000 Bond Coins on the table per season, which equals about ten extra Cobun.
| Pitfall | Cost | Fix |
|---|---|---|
| Pulling early banner | 1,500 Heartbeat Coins wasted | Wait for Concert Banner (Act 3) |
| Skipping NPC dialogue | ~5,000 Bond Coins lost | Talk to every NPC weekly |
| Selling uncommon Cobun | 2-3 Rare-tier conversions lost | Always merge at Harmony Bench |
| Missing daily song buff | ~15% drop rate lost | Visit Saela before any run |
| Ignoring event missions | 3-5 Cobun per window | Check the in-game calendar daily |
A final advanced tactic is the Cobun Formation Swap trick. Because the rhythm-chain meter only counts the first eight Cobun in your active formation, you can effectively double your chain uptime by swapping a fresh squad in immediately after the meter maxes. This is especially useful in boss fights, where a single missed chain tick often costs the clear. Players who master the swap typically add 20-30 percent more damage during the final phase, which is the difference between a one-shot boss and a frustrating reset loop.
Frequently Asked Questions
How to get more Cobun in Ratatan as a brand-new player?
As a new player, focus on the Tidebit Beach / Pillar Pass / Underbelly Tunnels loop because it yields 6-9 Cobun every nine minutes, runs at any level, and includes Harmony Bench conversion material. Combine this with a daily visit to Saela the Bard for the +15% Cobun drop-rate buff, and you can realistically add 50-60 Cobun within your first three play sessions, even without spending Heartbeat Coins.
What is the fastest way to unlock Chorus Ratatan characters?
The fastest path to Chorus units is clearing the Rhythm Tower once, then running Replay Mode on floors 5, 10, 15, and 20. Each replay costs stamina but guarantees one Chorus shard, so committing to two floors per day unlocks your first Chorus character in roughly two weeks. Pair this with the daily Doolan free roll for a steady shard trickle on top of the tower grind.
Are Ototo Ratatan and Medama Ratatan characters worth the grind?
Yes, both lines are worth the grind because Ototo provides attack-speed and chain-extension buffs, while Medama delivers the only in-combat revive passive in the game. A balanced formation of two Ototo, two Medama, and four Chorus units can clear almost any Act 4 encounter without dying, which is far more reliable than a roster stacked with only one archetype. The Ototo drum-circle unlock is short and time-gated, while the Medama rescue chain is long but deterministic, so plan a single play session per week for each.
Which Rataport NPCs are most important for Cobun recruitment?
The three most important Rataport NPCs for Cobun recruitment are Doolan the Drummer for free rolls, Mira the Merchant for the Heartbeat Coin shop, and Old Tunker for the Fortrun token trade. Doolan offers three free Cobun per week, Mira rotates a Mythic-tier Cobun through her shop, and Tunker hands out a Fortrun shard every Sunday. Visiting all three once per week provides a steady, premium-currency-free Cobun income that no other in-game source can match.