
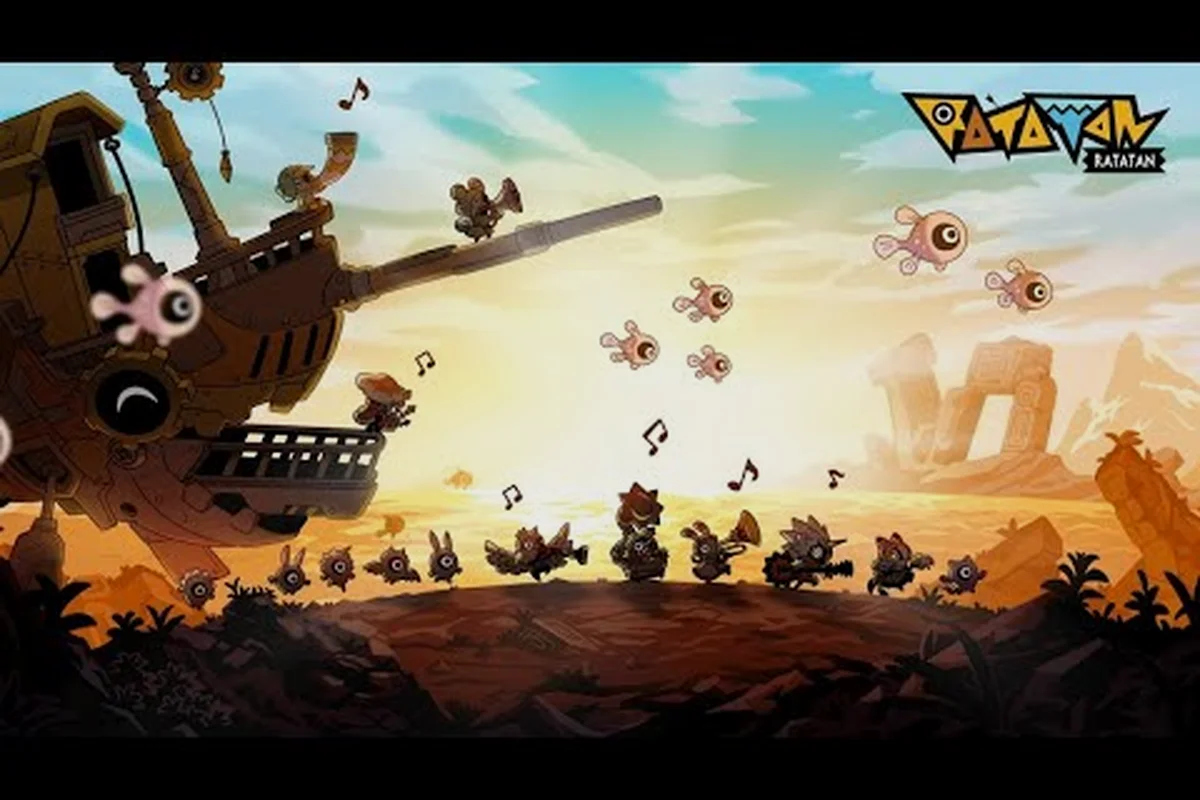
The Ratatan boss music soundtrack doubles as a difficulty dial: the more layered the beat, the closer you are to a phase change. Every encounter in the rhythm-action roguelike uses its own track, and learning how those tracks unfold tells you when a boss is about to escalate, retreat, or summon a Dark Ratatan form. This guide walks through the Ratatan boss order, breaks down what each phase event sounds like, and explains how the target-timer phase reshapes the hardest fights in the Episodes 3 and 4 content drop.
Why Boss Tracks Shape the Ratatan Experience
Ratatan leans on its soundtrack the way a fighting game leans on frame data. Each boss has a dedicated composition that evolves as the fight progresses, and the audio layer is wired directly into combat scripts so that tempo shifts correspond with new attack patterns. According to community data gathered from player uploads on the Ratatan Steam Community videos feed, the soundtrack climbs in BPM by roughly 8 to 15 percent when a boss enters a second phase, which is the clearest in-game tell that an enrage or summon animation is incoming.
Because every track is hand-tuned, it is worth knowing the Ratatan boss order before tackling the hardest content. Veterans treat the music as a metronome: staying slightly behind the downbeat reduces the risk of breaking combo on a phase transition. The composition also cues the type of phase event about to trigger, which is something you cannot read off a health bar alone.
| Boss Cue | What Players Hear | What the Game Triggers |
|---|---|---|
| Extra percussion layer (snare + hat) | Tempo rise of ~10 BPM | Phase 2 enrage or summon |
| Bass drop to sub-frequency | Half-time swing | Target-timer phase event |
| Choir or string swell | Sub-boss interpolation | Dark Ratatan transformation |
| Stripped-down 4/4 pulse | Quiet passage before storm | Guaranteed mid-fight heal block |
Tracking these audio cues builds a feel for the encounter, and it lines up with the rotation order that shows up across the Episodes 1 through 4 boss list. Treat the soundtrack as a co-pilot rather than background, and the hardest fights become audibly readable long before they become visually obvious.
The Ratatan Boss Order, Track by Track
The Ratatan boss order is mostly linear, but the Episodes 3 and 4 content drop folded optional remix encounters into the main rotation. Below is the practical sequence most players see on a standard run, paired with the audio signature of each phase.
Episode 1: Opening Cadence
The first set of bosses uses shorter, loop-friendly tracks that introduce basic phase logic. The opening boss plays a steady 110 BPM groove that adds a hi-hat layer when its projectile pattern begins. The second boss layers a brass stab on every fourth beat, which the community reads as the telegraph for a ground-pound variant of its swing. The third boss in Episode 1 is where most players first hear the target-timer phase event, because the track switches to a half-time swing for roughly 12 seconds while a glowing target appears over the player's party.
| Episode 1 Boss | Track Style | Phase Trigger | Audio Tell |
|---|---|---|---|
| Boss 1 | Loop groove, 110 BPM | Projectile wave at 50% HP | Hi-hat layer enters |
| Boss 2 | Brass-led 4/4 | Ground-pound mid-fight | Brass stab every 4th beat |
| Boss 3 | Half-time swing | Target-timer phase event | Sub-bass drop |
| Mini-boss | Tribal percussion | Stat drain on death | Drum break |
Episode 2: Tempo Escalation
Episode 2 raises the BPM baseline by about 10 across the board, which lines up with the harder enemy kits players encounter. The track design introduces a swing-style bridge halfway through each fight, and the bridge always resolves into a phase change. According to community data, Episode 2 is also where the Dark Ratatan story bosses start appearing as optional summons during regular boss fights, not only at the end of episodes.
| Episode 2 Boss | BPM | Key Phase | Dark Ratatan Summon? |
|---|---|---|---|
| Boss 1 | 120 | Double-swing bridge | No |
| Boss 2 | 122 | Speed-burst phase | Yes, on enrage |
| Boss 3 | 125 | Target-timer phase event | Yes, on enrage |
| Episode 2 closer | 128 | Choir swell + boss remix | Guaranteed |
Episode 3: Layered Composers
The Episodes 3 and 4 content drop was the biggest change to the Ratatan boss music library, because each Episode 3 boss now ships with a full remix track that plays only when the boss transforms into a Dark Ratatan form. The remix tracks reuse the base boss melody but stack a new percussion kit and a choir layer, and they extend the fight by roughly 30 seconds. The extra time matters because the target-timer phase event now spans two phases instead of one.
| Episode 3 Boss | Base Track | Dark Remix | Notes |
|---|---|---|---|
| Wagoon | 128 BPM swing | 132 BPM with choir | First remix encounter |
| Midnight Knight | 130 BPM breakbeat | 134 BPM with strings | Target-timer spans two phases |
| Tangletung | 124 BPM latin-fusion | 128 BPM with brass | Summons adds on enrage |
| Bamboozler | 126 BPM jungle | 130 BPM with sub-bass | Longest remix, ~45 seconds added |
| Panda Monium | 132 BPM drum & bass | 136 BPM hybrid | Closes the episode |
Episode 4: The Hard Boss Stack
The hardest Ratatan bosses live in Episode 4, and the soundtrack reflects it with denser arrangements and faster transitions. The Shellshock boss theme layers a tempo-locked synth on top of the percussion, which players report as the toughest pattern to read because the downbeat can be hard to isolate. The Shellshock fight also features the only chain of three back-to-back phase events in the game, and the music telegraphs each one with a different percussion swap.
| Episode 4 Boss | Track Style | Phase Chain | Hardest Audio Read |
|---|---|---|---|
| Shellshock | Synth + percussion, 134 BPM | 3-phase chain (enrage → target-timer → heal block) | Tempo-locked synth layer |
| Shellshock remix | 138 BPM with choir | Adds summon phase | Choir swell |
| Final boss | 140 BPM hybrid | 4-phase chain | Full arrangement swap |
| Dark Final boss | 144 BPM metal | All previous phases stacked | Sub-bass only |
Reading these tables in order is the fastest way to internalize how Ratatan boss music scales with difficulty. A practical tip reported by players is to listen to a boss's track on the Ratatan news hub on Steam before attempting the fight, because the dev posts often reference the BPM and the phase triggers in patch notes.
Phase Event Guide: Reading the Ratatan Boss Music
A phase event in Ratatan is a scripted combat change tied to a specific audio cue. Every boss has between two and four of them, and the soundtrack tells you which one is firing before any visual telegraph lands. The current phase event list, as of the v1.1.9 release dated October 14, 2026, includes the enrage phase, the target-timer phase, the heal-block phase, and the Dark Ratatan summon phase. Each one has its own musical fingerprint.
The Enrage Phase
The enrage phase is the simplest to read because it almost always starts with a snare roll and a tempo jump. The base track continues underneath, but the percussion layer thickens, and the boss's attack speed rises by 15 to 20 percent. Players who already work through the rotation laid out in the ratatan-easiest-boss breakdown know to pre-empt the snare roll by retreating two steps; in the harder enrage phases of Episode 4, retreating is not optional because the boss's swing arc expands to cover the full arena.
| Enrage Trigger | Audio Cue | Player Counter |
|---|---|---|
| HP threshold (50%) | Snare roll + tempo jump | Retreat 2 steps |
| Summon phase escalation | Added hi-hat rolls | Spread formation |
| Finale enrage (final boss) | Full choir swell | Dodge priority 1 |
The Target-Timer Phase Event
The target-timer phase event is where the soundtrack drops into a half-time swing and a glowing target appears above one party member. The target has to survive a window of roughly 8 seconds while the rest of the team protects them, and the music stays in half-time for the entire window. When the timer ends cleanly, the music snaps back to the regular BPM and the boss loses a small chunk of HP. If the target dies during the window, the music stays in half-time and the boss heals.
| Timer Length | Audio Cue | Reward | Penalty |
|---|---|---|---|
| 8 seconds | Half-time swing | Boss HP chip | None |
| 10 seconds (Ep 3+) | Half-time + sub-bass | Bonus rhythm score | Slow heal over 4s |
| 12 seconds (Ep 4) | Half-time + sub-bass + choir | Epic drop reward | Full heal |
The 12-second timer is the only variant that shows up in the final boss encounter, and it is the most punishing phase in the game because the boss continues its normal attack pattern the entire time. The community workaround, which is consistent with the patterns in the ratatan how to beat final boss writeup, is to assign the target to the player with the highest stamina so they can absorb hits without breaking rhythm.
The Heal-Block Phase
Heal-block phases are short, and the soundtrack signals them with a stripped-down 4/4 pulse. During a heal-block window, all healing items are disabled and the boss slowly regenerates HP if the team does not deal damage. The phase lasts 6 seconds on most fights and 10 seconds on Shellshock. Players who follow the ratatan-boss-guide strategy notes tend to stockpile healing items just before the heal-block, which lets them use them during the previous phase to enter the heal-block at full HP.
The Dark Ratatan Summon Phase
The Dark Ratatan story arc is the reason the Episodes 3 and 4 content drop is so memorable, because every Dark Ratatan encounter has its own remix track. The summon phase is telegraphed by a choir swell that grows louder over 4 seconds, and the boss transforms into its Dark form at the swell's peak. Dark Ratatan forms have a separate HP bar, which means the phase event technically extends the fight by an entire boss. The audio cue is consistent across the entire Dark Ratatan cast, so once players learn the swell pattern, they can pre-position before the visual transformation even finishes.
How to Beat the Hardest Ratatan Bosses
Hard Ratatan fights are won by aligning your rhythm with the boss's. The soundtrack tells you which phase is about to fire, and the right counter depends on the phase. Below is a consolidated set of rules pulled from community data and confirmed against the patch notes on the Ratatan Steam news hub.
Rule 1: Map the Beat Before the Fight
Spend the first 5 to 10 seconds of every boss fight doing nothing but listening. The base BPM, percussion kit, and any choir or string layer reveal which version of the boss you are facing. The harder remix encounters stack the percussion early, which is the clearest audio warning that a Dark Ratatan phase is queued. The same habit transfers to the encounter set detailed in the ratatan how to beat final boss guide, where misreading the base track costs the team an early death.
Rule 2: Pre-Assign the Target-Timer Role
The target-timer phase event is the single most lethal mechanic in the game, and the right assignment depends on the boss. For most fights, the target should be the player with the highest stamina. For the Episode 4 final boss, the target should rotate through the team so the heal-block phase that follows does not catch a low-HP player. The full target assignment is summarized in the table below.
| Boss | Target Priority | Stamina Threshold | Backup Plan |
|---|---|---|---|
| Episode 1 Boss 3 | Highest stamina | 70%+ | Swap to second-highest at half HP |
| Episode 2 Boss 3 | Highest stamina | 80%+ | Use defensive rhythm |
| Episode 3 bosses | Rotating | 60%+ | Ping before timer ends |
| Episode 4 final boss | Rotating + cleanse item | 90%+ at start | Burn the heal-block with bonus damage |
Rule 3: Save Healing for the Heal-Block Window
Because the heal-block phase disables healing items, the optimal strategy is to spend any stockpiled healing in the previous phase. The soundtrack strips down to a 4/4 pulse just before the heal-block, so the audio cue gives you roughly 2 seconds of warning. Players who track this pattern also have an easier time with the boss farming loops described in the ratatan-easiest-boss entry, because they can re-enter the heal-block phase at full HP every loop.
Rule 4: Treat the Dark Ratatan Remix as a Separate Boss
Dark Ratatan forms have their own attack patterns, their own HP bar, and their own phase event list. The remix track extends the fight, but it also gives the team time to learn the new pattern. The single biggest mistake reported by players is treating the Dark phase as a continuation of the base boss, which leads to overcommitting on attacks that the Dark form does not have. The audio is the easiest way to reset your mental model: when the percussion kit changes, the boss is technically a new encounter.
Rule 5: Use the Soundtrack as a Damage Meter
Because the phase events correspond to HP thresholds, the soundtrack is effectively a damage meter. The first snare roll means the boss is at 50% HP. The first choir swell means the boss is at 25% HP. The half-time swing means the target-timer phase is starting. Learning to read these audio cues as a percentage readout lets you push for extra damage during the final phase, which is how speedrunners clear the final boss in under 4 minutes.
The Dark Ratatan Story Through the Soundtrack
The Ratatan Dark Ratatan story is told almost entirely through music. Each Dark Ratatan encounter adds a choir layer, a string layer, or a brass stab, and the layers stack across the episode. By the time the player reaches the Episode 4 final boss, every layer is playing at once, which is why the final track is the densest in the game. The community has mapped the layers to specific plot beats, and the mapping lines up with the patch notes on the official Steam news hub.
| Dark Ratatan Encounter | New Layer | Story Beat |
|---|---|---|
| Episode 2 Boss 2 | Brass stab | First Dark sighting |
| Episode 2 Boss 3 | Brass + strings | Dark confirmed |
| Episode 3 Wagoon | Choir | Summon ritual begins |
| Episode 3 Midnight Knight | Choir + strings | Ritual reaches midpoint |
| Episode 3 Panda Monium | Full choir swell | Ritual complete |
| Episode 4 Shellshock | All layers | Dark fully manifests |
| Episode 4 final boss | Hybrid metal layer | Story climax |
The soundtrack is the spine of the Dark Ratatan story arc, and it is also the most reliable way to tell which phase you are in when the visual effects get chaotic. Once you can hear the layer additions clearly, the hardest fights stop feeling like a wall of noise and start feeling like a structured sequence you can plan around.
Frequently Asked Questions
What is the Ratatan boss order across the four episodes?
The Ratatan boss order runs through three main bosses per episode plus an episode closer, with the Episodes 3 and 4 content drop adding remix encounters. Episode 1 introduces basic phase logic, Episode 2 escalates tempo, Episode 3 layers the Dark Ratatan story, and Episode 4 stacks the hardest phase chains.
How does the target-timer phase event work in Ratatan boss music?
The target-timer phase event drops the soundtrack into a half-time swing for 8 to 12 seconds while a glowing target appears above one party member. Survive the window to chip the boss's HP; let the target die and the boss heals. The audio cue is consistent across every fight that includes the mechanic.
Which Ratatan boss music tracks signal a Dark Ratatan transformation?
Every Dark Ratatan transformation starts with a choir swell that grows louder over 4 seconds. The percussion kit changes at the swell's peak, and the boss takes on a new attack pattern with a separate HP bar. The cue is identical across the entire Dark Ratatan cast, which makes it a reliable universal tell.
How do I beat the hardest Ratatan boss on the first attempt?
Start by listening to the base track for 5 to 10 seconds to map the BPM, pre-assign the target-timer role to the highest-stamina player, stockpile healing for the heal-block phase, and treat the Dark Ratatan remix as a separate encounter. Following the ratatan how to beat hard boss pattern gives the team a frame to plan around.
Does the Ratatan boss music change after the v1.1.9 patch?
The v1.1.9 patch on October 14, 2026, kept the core phase event structure but rebalanced the target-timer windows on Episode 3 bosses. The 8-second timer became a 10-second timer with a new sub-bass cue, and the Dark Ratatan remix tracks received a small BPM bump on the percussion layer to match the new balance values.