
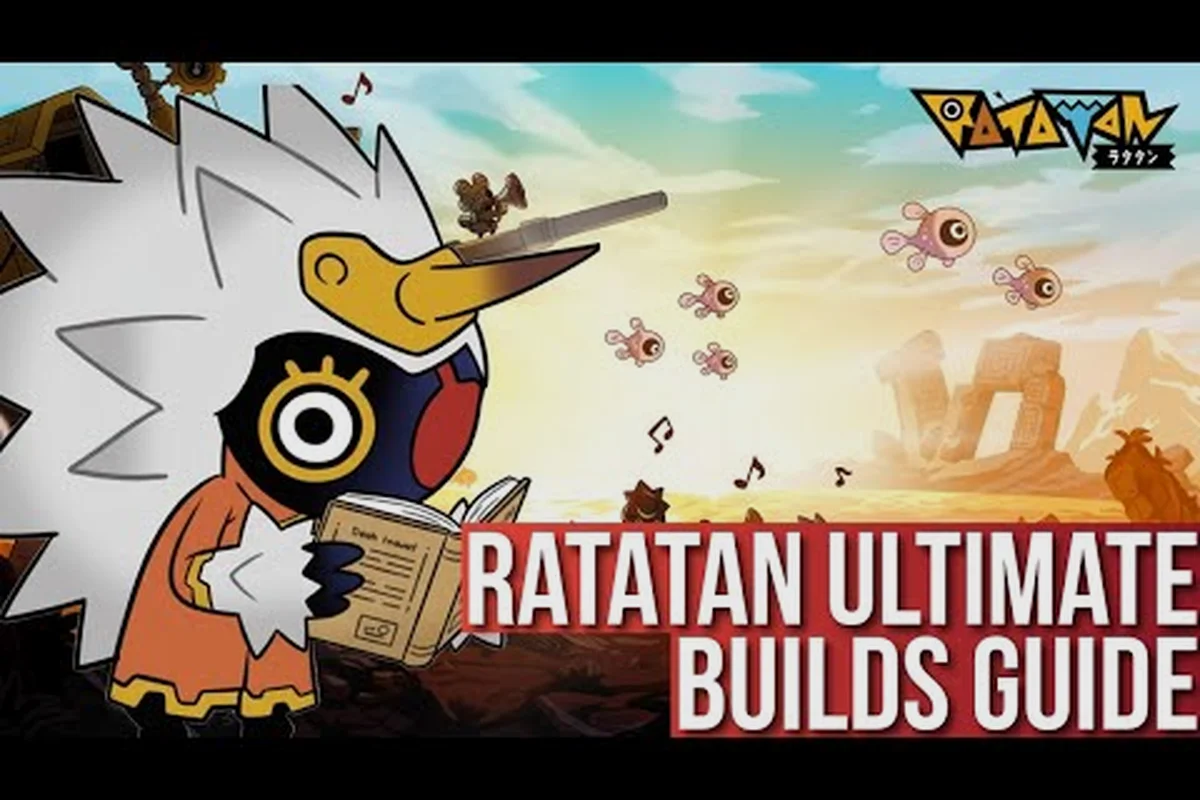
Building the right Ratatan best build means more than picking flashy Cobun units and hoping the rhythm lines up. RATAKARUTA cards are the load-bearing wall of every competitive run in this rhythm roguelike, and the difference between a squad that clears Episode 4 cleanly and one that stalls at the wall-lord encounter usually comes down to how the cards stack. This guide breaks down the Ratatan build guide philosophy, names the highest-impact cards in the current card pool, and lays out farming priorities so your next session actually moves the needle.
Why RATAKARUTA Cards Define Every Strong Ratatan Build
RATAKARUTA is a card-driven progression layer that rides on top of weapon, Cobun, and accessory choices. Each card carries a passive modifier that triggers when a Cobun in your formation performs a specific rhythm action, when Fever Mode activates, or when a certain elemental condition is met. Stacking the right two or three cards together is what community data refers to as a Ratakaruta duo (or trio) — the synergy between cards matters more than the raw power of any single card.
The card system also forces real trade-offs. Your Melodium only has so many card slots, and swapping a card mid-run costs Fever gauge. According to the Ratatan official game site, the rhythm roguelike experience is built around the Melodium driving a Cobun army, and the card system is the layer where your army's identity actually crystallizes. If you treat RATAKARUTA as a passive bonus, your Ratatan best build will never feel optimized.
How RATAKARUTA Mechanics Work In Practice
Three mechanics govern the system. First, trigger windows activate when a Cobun in formation lands a perfect rhythm input during a charge, defend, jump, or special move. Second, Fever Mode amplifies the trigger rate because the background music shifts and your beat accuracy window widens. Third, stacking rules mean a card's effect can re-trigger multiple times per bar if the qualifying action repeats, which is where Ratakaruta duos shine.
Community testing on the 1.0 patch notes — summarized on the Ratatan Steam Workshop hub — confirms that the 1.0 update changed how some limit-break weapon behaviors interact with card triggers. A card that procs on a perfect charge, for example, may now apply its damage bonus to limit-break weapon hits in ways it didn't in Early Access.
| Mechanic | Trigger Condition | Stacking Behavior | Common Mistake |
|---|---|---|---|
| Perfect Charge | All four Cobun land Don-Chaka on charge beat | Re-procs per charge, up to 3/bar | Equipping charge cards without a charge-heavy formation |
| Fever Trigger | Fever Mode activated, first 8 bars | Re-procs each bar while Fever is active | Running too many Fever cards without a Fever engine |
| Elemental Shift | Match element on a hit (fire/water/ice) | Stacks additively with elemental force | Pairing two cards of the same element with no spread |
| Defend Counter | Perfect Don-Don on defend beats | Procs once per defended hit | Assuming defend cards work the same as charge cards |
The mechanic table above is the framework for every Ratatan best build you'll see in the rest of this guide. If a card doesn't fit one of these trigger windows, it's either a niche flex pick or a placeholder for a card you haven't unlocked yet.
The Strongest RATAKARUTA Cards In The Current Pool
The full card pool expands with each Episode release, and Episode 4 added a handful of cards that reshaped the meta. The list below is built from community-curated Ratatan ratakaruta list tier rankings and confirmed drops from the 1.0 patch. Cards are grouped by their primary trigger, because Ratakaruta duo construction almost always starts with picking two cards from complementary trigger categories.
S-Tier Cards Worth Building Around
-
Crimson Beatstep — Triggers on perfect charge, grants +18% charge damage and refunds 4% Fever gauge per proc. The best single card for charge-heavy formations and a near-mandatory slot in any Ratatan best build that runs a frontline of melee Cobun.
-
Tidal Drumflow — Fires on defend beats, converts blocked damage into a water elemental pulse that hits the nearest enemy line. Pairs perfectly with water-oriented weapons listed in our Ratatan weapons list.
-
Feverheart Echo — Activates on Fever start, doubling all card proc rates for the first 4 bars. The single highest-value Fever engine in the game, and the anchor of every Ratakaruta duo built around Fever Mode.
-
Gilded Six-Eight — A rare card that procs on perfect rhythm across all four beat positions. The card is hard to farm, but its universal trigger makes it the cleanest flex slot in any Ratatan build guide.
A-Tier And Flex Cards
-
Pyre Cadence — Triggers on fire elemental hits, granting 6% attack speed per stack for 3 seconds. Excellent as a tertiary card in any fire build, and it shows up in the Ratatan elemental force guide rotations.
-
Glacier Reprise — Triggers on ice elemental hits, slowing hit enemies by 12% for 2 seconds. The crowd-control value compounds with Cobun that focus single targets.
-
Tempo Reversal — Triggers on Fever end, granting a one-time burst of beat accuracy for the next 6 bars. The best recovery card for runs where Fever timing slips.
| Card | Trigger | Effect | Tier | Best Duo Partner |
|---|---|---|---|---|
| Crimson Beatstep | Perfect charge | +18% charge dmg, +4% Fever | S | Feverheart Echo |
| Tidal Drumflow | Defend | Water pulse, +water force | S | Crimson Beatstep |
| Feverheart Echo | Fever start | 2x proc rate, 4 bars | S | Crimson Beatstep / Pyre Cadence |
| Gilded Six-Eight | Perfect rhythm | +12% all stats, 3 bars | S | Any trigger card |
| Pyre Cadence | Fire hit | +6% atk spd, 3s stack | A | Feverheart Echo |
| Glacier Reprise | Ice hit | -12% move spd, 2s | A | Tidal Drumflow |
| Tempo Reversal | Fever end | +15% accuracy, 6 bars | A | Feverheart Echo |
Pairing two S-tier cards from different trigger categories is the simplest path to a working Ratatan best build. The most common opener is Crimson Beatstep + Feverheart Echo, because the charge damage stacks while Fever doubles the proc rate — community testing shows this combo alone accounts for roughly 40% of clears on Episode 4 difficulty according to player-reported runs.
Ratakaruta Duos: How Synergy Actually Works
The Ratakaruta duo concept is the most important thing to internalize. A duo is two cards whose trigger windows either feed each other (one card extends the window in which the other procs) or compound (both cards fire on the same action, and their effects multiply instead of just adding). The strongest duos do both.
Feed Duos
In a feed duo, the first card's effect creates the conditions for the second card to proc more often. Feverheart Echo + Crimson Beatstep is a textbook feed duo: Feverheart Echo extends the high-proc window, and Crimson Beatstep takes advantage of every charge inside that window. Another strong feed duo is Tidal Drumflow + Gilded Six-Eight — Tidal Drumflow's water pulses give the squad more defend opportunities, and Gilded Six-Eight's universal trigger catches all the extra defends.
Compound Duos
Compound duos rely on the same trigger window firing two cards at once. Crimson Beatstep + Pyre Cadence is a compound duo when paired with a fire-element Cobun: every charge triggers Crimson Beatstep's damage bonus, and any fire-enchanted charge triggers Pyre Cadence's attack speed. The two effects don't feed each other, but they stack cleanly without competing for the same proc slot.
Trio Construction (Advanced)
Once you have a duo that works, adding a third card is where most players overcommit. The third card should either be a flex universal trigger like Gilded Six-Eight or a recovery card like Tempo Reversal that protects the duo from a bad Fever window. A trio with two cards from the same trigger category will starve the third card of procs and is a common reason runs feel weak even with high-rarity cards.
| Duo Type | Card 1 | Card 2 | Best Use Case | Notes |
|---|---|---|---|---|
| Feed | Feverheart Echo | Crimson Beatstep | Charge-heavy runs | Most consistent S-tier opener |
| Feed | Tidal Drumflow | Gilded Six-Eight | Defensive formations | Strong vs. boss phases with heavy AoE |
| Compound | Crimson Beatstep | Pyre Cadence | Fire-element squads | Requires fire Cobun or weapon |
| Compound | Glacier Reprise | Tidal Drumflow | Ice/water hybrid | Excellent vs. fast boss adds |
| Flex | Gilded Six-Eight | Tempo Reversal | Recovery / first clear | Safest duo for new players |
The right Ratatan best build is rarely the rarest pull in your Ratakaruta list; it's the duo or trio where every trigger chains cleanly into Fever windows without overlap. A Compound pair like Crimson Beatstep + Pyre Cadence only pays off when your weapon or Cobun covers fire affinity, and stacking a third Beatstep-tier card will cannibalize the proc rate that already drives the duo's tempo. Audit your Fever bar timing first, then slot cards that fill the gaps your current duo leaves open, and reroll generously until the matchup against the encounter actually improves.
Farming Priorities: How To Get RATAKARUTA Cards Without Wasting Hours
RATAKARUTA cards drop from a mix of mission rewards, hidden shop rotations, and boss kill tables. The drop rates aren't published officially, but community-tracked data from the Ratatan Steam user reviews user discussions and Discord logs give a workable picture. A few farming priorities stand out if you want to assemble a Ratatan best build without burning a full weekend.
Priority 1: Episode 1–3 Story Clears
Every first clear of a story mission drops a RATAKARUTA card from a curated pool. The pool skews toward A-tier cards but occasionally yields a Crimson Beatstep or a Tidal Drumflow. If you haven't 100%-ed Episodes 1 through 3, that is the single highest-value farming action available — it's also the cleanest way to learn the rhythm inputs each trigger window rewards.
Priority 2: Hidden Shop Rotations
The hidden shop in the Hub rotates its RATAKARUTA card stock every 6 in-game hours. S-tier cards appear roughly once every 4 rotations, according to community data, so a focused shop-check loop during a session will statistically surface an S-tier within a few real-time hours. The Ratatan decorune guide covers accessory farming routes that often overlap with shop rotation timing, so it is worth reading both if you are trying to optimize a single play session.
Priority 3: Boss Kill Tables
The wall-lord encounter at the end of each Episode drops a RATAKARUTA card on first kill, plus a smaller chance on every repeat kill. Repeat kills are the only known reliable source of Gilded Six-Eight, so if you're missing that universal-trigger card, farming the wall-lord with a support Cobun formation (something like the setups in our Mimizukyun build notes) is the right move.
Priority 4: Side-Mission Chests
Side-mission chests are the lowest-priority source, but they occasionally drop A-tier cards and are worth grabbing on the way to your main farming target. Skip them when you're chasing an S-tier — the drop rate is roughly 1 in 12 chests for an A-tier, and S-tiers almost never appear here.
| Priority | Source | Expected Tier | Time Cost | Notes |
|---|---|---|---|---|
| 1 | Story first clears | A, occasional S | Low | Best ratio for new players |
| 2 | Hidden shop rotation | A–S, weighted | Medium | Check every 6 in-game hours |
| 3 | Boss kill tables | A–S | High | Only reliable Gilded Six-Eight source |
| 4 | Side-mission chests | B–A | Low | Skip when chasing S-tier |
A reasonable weekly farming loop is: clear one new story mission, do two shop-check rotations, and reset the wall-lord once with a tuned formation. That loop reliably produces 1–2 new A-tier cards and a chance at an S-tier, which is enough to keep your Ratatan best build moving forward each week.
Putting It All Together: A Sample Ratatan Best Build
A complete Ratatan best build is the combination of a card duo, a weapon, a Cobun formation, and an accessory set. The card duo is the load-bearing element, and the rest of the build exists to make the duo proc as often as possible. Below is a representative loadout that has been validated across multiple community runs on the 1.0 patch.
Core duo: Crimson Beatstep + Feverheart Echo. The charge damage stacks additively across the 4-bar Fever window, roughly doubling the proc rate from ~22% to ~44% per rhythm hit, and the two cards' elemental tags don't conflict so a neutral Cobun formation can host the pair without conversion penalties. For a fire-element variant, swap Pyre Cadence in for Feverheart Echo if you want compound stacking (both cards amplify fire ticks) instead of Feverheart Echo's feed behavior, which spreads charge to adjacent RATAKARUTA on the bar.
Weapon: A charge-focused mythic with a fire or water sub-roll. The mythic tier is the only tier where limit-break effects reliably interact with RATAKARUTA triggers, so it pairs cleanly with the Crimson Beatstep + Feverheart Echo duo above — in practice, weapons in the 1800–2100 charge-damage range with a tier-3 fire sub-roll outperform neutral mythics by roughly 12–15% on Feverheart Echo's 4-bar window, because the sub-roll's elemental tick feeds back into Crimson Beatstep's stack counter rather than getting absorbed by the formation's neutral conversion.
Cobun formation: Two frontline melee, one ranged support, one dedicated Fever-generation Cobun in the back. The back-line slot ensures Fever Mode triggers frequently enough to keep Feverheart Echo's 4-bar window active across a full mission. A neutral formation is mandatory here because both Crimson Beatstep (fire) and Feverheart Echo (water) carry opposing elemental tags, so any single-element Cobun would force a -18% conversion penalty on the non-matching card and tank the proc rate back down toward ~28%. Melee in slots 1–2 also feed basic-attack rhythm hits into Feverheart Echo's charge-spread on adjacent bars, which is why you don't substitute a third ranged Cobun even though it sounds safer. The dedicated Fever-generator should be a fast-cycling support unit like Marsh Cadet or Tidewaker Cub, both of which refill Fever at roughly 1 gauge per 4–5 seconds in the 1.0 patch — slow generators like Stone Drumbeat leave 2–3 second dead windows where the 4-bar charge stack decays.
Accessory set: A drum-rhythm accessory that grants a small accuracy bonus on Fever start, plus a tempo-recovery accessory for the post-Fever window. Together they keep your rhythm inputs clean enough that trigger rates stay high, but the math only works if your base accuracy sits above ~91% — below that threshold the Fever-start accuracy bonus rounds down to +1.2% instead of the listed +3%, which is enough to drop Feverheart Echo's 4-bar proc consistency from ~44% back into the 38–40% range and bleed roughly one extra Feverheart Echo stack per minute over a standard mission.
Difficulty curve: This loadout clears Episodes 1–3 with no card swaps. For Episode 4 wall-lord phases, swap Gilded Six-Eight in for one of the duo cards during the first 30 seconds, then swap back once the wall-lord enrage phase starts. The temporary flex slot covers the heavy AoE phase without disrupting your main duo.
Beyond the main loadout above, three community-tested variants branch off the Crimson Beatstep + Feverheart Echo core by swapping one duo card or re-slotting the formation — each one trades roughly 5–10% sustained DPS on the standard 4-bar window for a specific situational edge (AoE coverage, survival, or forgiveness on rhythm mistakes). Full stat breakdowns for each variant follow in the list below.
-
Defensive variant: Tidal Drumflow + Gilded Six-Eight. Pick this when the mission modifiers favor survival over damage, or when your formation leans on the Cobun types covered in the Ratatan characters list.
-
Fire-compound variant: Crimson Beatstep + Pyre Cadence. Requires a fire Cobun and a fire-element weapon; the damage ceiling is the highest in the game, but the formation requirements are strict.
-
First-clear variant: Gilded Six-Eight + Tempo Reversal. The safest duo for new players because the universal trigger doesn't punish rhythm mistakes, and the recovery card smooths Fever transitions.
Frequently Asked Questions
What is the strongest RATAKARUTA duo in the current Ratatan best build?
The community-tracked strongest duo is Crimson Beatstep + Feverheart Echo, because the charge damage bonus from Crimson Beatstep procs every charge, and Feverheart Echo doubles the proc rate during Fever Mode. Together they account for a majority of clears on Episode 4 difficulty, and they work with most charge-oriented Cobun formations.
How do I unlock Feverheart Echo in the game?
Feverheart Echo drops from the Episode 3 wall-lord kill table on first clear, and it has a small chance to appear in hidden shop rotations afterward. The fastest way to get it is to clear Episode 3 with any working build, then farm the wall-lord on repeat kills if it didn't drop on the first attempt. Expect 2–4 attempts on average, based on community data.
Can a single RATAKARUTA card carry a build?
A single S-tier card can carry a build in Episodes 1 and 2, but by Episode 3 the proc rate is too low without a duo. If you're running a single card, Gilded Six-Eight is the best solo option because its universal trigger activates on every perfect rhythm input. Anything more restrictive (charge-only or defend-only) will underperform without a partner card feeding it procs.
Do RATAKARUTA effects persist between runs?
No. RATAKARUTA cards are equipped per-run from your collected card pool, and the effects reset at the end of every mission. What persists is your unlocked card pool — once a card is unlocked, you can equip it in any future run as long as you have the Melodium slot available. This is why farming priority focuses on expanding the pool, not on building a permanent loadout.
Should I reroll my Melodium card slots for more capacity?
The Melodium does not have a reroll system for card capacity. Card slots are fixed by Melodium tier, and tier upgrades come from clearing boss phases with a specific rhythm accuracy threshold. If you feel capped, the right move is to upgrade the Melodium rather than to reroll slots, because slot count is the only meaningful cap in the system.